When I was growing up, my mom cooked us homemade Korean food. I don't think I appreciated it then as much as I do now, and didn't realize how lucky I was to have all that delicious mom-made Korean food. It was hard being one of the few Asian kids in my school. I looked at what all my non-Korean friends were eating and wished I could eat what they were eating.
I don't actually remember the first time I ate beef stew. But it forever emblazoned itself upon my psyche as what American food should be. It epitomized to me, a little fat Asian kid growing up in the 70's, what America was all about. Did I mention I was also a HUGE Laura Ingalls Wilder fan? I was a huge fan of both the book series and the television show "Little House on the Prairie". It was the only TV show my sister and I were allowed to watch ("But Dad! Each episode has like a moral and the people in the show go to church! There's even a main character named Reverend Alden!") I just knew Ma Ingalls made this for her family... over an open fire... in a caste iron pot... in their little, one room cabin...in the woods. I wanted to eat it too.
There was one big problem....My mom had no idea how to make beef stew. Luckily for me, Campbell's canned soups saved the day. Or so I thought. I used to be perfectly content popping open a can of beef stew and warming it up with one can of added water and eating it with saltine crackers. I used to sit watching cartoons, eating my canned beef stew, thinking, "Man. This is the life!". I really believe I've consumed thousands of cans of Campbell's soups as a kid.
Then at some point, I'm not sure when, I had real beef stew that somebody made. Maybe it was during a school lunch or maybe one of my friends shared with me during lunchtime. But it was then that I realized that Campbell's canned soups were awful (except for Cream of Mushroom soup, which is the base for
CRACK Casserole).
Flash forward to today. My other half is this Native American dude. Let's just call him the Indian. His mom showed me how to make beef stew a long time ago. It took me years of trying and messing up to finally get to the point where I think I make pretty good stew. Somehow, in Native American culture, stew has become a main staple that you can find at every pow wow or Native gathering. The Indian's family eats it over rice (um...beef stew AND rice? That's a win-win!) and with Indian Fry Bread (um....fried bread? Jackpot!).
This is my Korean-American version of my Mother-out-law's Native American Indian Beef Stew....Say that ten times.
You will need:
Stew meat (1/2 - 1 pound)
Worcester sauce
olive oil
2 bay leaves
thyme
1 large onion (or 2 small onions)
1 bell pepper
1 cup carrots
2 stalks of celery
4 small potatoes
garlic
paprika
canned, stewed tomatoes
beef stock
flour
water
seasoning salt and black pepper
You can use as much or as little beef and veggies as you want. I've played with different amounts over the years and this is the ratio that I like. You can use more beef and less veggies if you want. When I first started getting recipes from the Indian's mom, I learned the hard way to take her recipes and cut them down to a third. He comes from a huge family of mostly boys and her recipes are written to feed about a dozen people who can eat about 3 times the amount of food as most people can. One of these days, I'll tell you about the Rhubarb Upside Down Cake incident of 2001...
I start with about 1/2 - 1 pound of beef for stewing (that's chuck and yes, it matters). The Indian's family sometimes uses moose or deer and while delicious, I don't often have that on hand here in Los Angeles, so good ole chuck it is.
You can buy it already cubed and ready to go. I bought this package at a Korean market. They have it labeled to go as meat for curry (same stewing process) and cut even smaller than you would find at a regular grocer. I use both large and small sizes. On this particular day, I walked in after a full day at work and was craving stew so I used this package of finely cubed stew meat. Why? Because it takes less time to cook. If using large cubed meat, it would have taken me about 2-3 hours to make my stew. Using smaller cubed meat, it took me about 1 1/2 hours.
NEVER, EVER throw your raw meat into water or stock and just begin cooking. You really have to brown your meat and get a good sear on your meat before stewing. It really makes a difference. I learned the hard way and threw all my ingredients in a crock pot once and come home to really awful stew.
So in a heavy duty pot, like a dutch oven over medium heat, brown your stew meat with a bit of olive oil, salt and pepper, crushed garlic and Worcester sauce. Listen, I don't know even know if I'm saying Worcester correctly. I'd never even heard of it growing up and before the Indian's mom showed me how to use it, I never even knew it existed. But trust me when I tell you that it makes a HUGE difference in this dish. So if you don't have any, go buy some. (I use it for meatloaf, steaks, etc...it's a good investment).
I added about a tablespoon and a half...
Don't skimp on the garlic.
Add seasoning salt and pepper.
As your beef and seasoning start to brown (on medium heat), throw in 2 bay leaves, about a teaspoon of thyme and about a teaspoon of paprika.
It's starting to smell soooooo good already. To your pot, add about 6 cups of water and cover with lid.
While your beef and water comes to a gentle boil, I chop up my large onion. I should have taken a picture because this particular onion was the size of a softball. No kidding. I chopped into fairly small pieces like this:
And I added about half of the onion to the cooking beef. These onions that you add now, will cook with the beef and help to season your meat. They will cook so long that they will eventually just disintegrate and become part of the stock. You don't have to add some here like I do, but I think it adds to the richness of the stew.
Cover with a lid and bring down to medium-low heat. Remember to check every once in awhile to make sure the water hasn't evaporated out. If it does, just add more water. You'll need to add enough to keep everything covered. It will take about an hour for your beef to stew and become soft. If you're using large cubes of beef, it will take about two hours or so for your beef to stew and become soft.
While your beef is stewing. It's time to cut up your veggies! I used potatoes, onion, carrot, bell pepper and celery. You can choose to cut them in large chunks or julienne them, like I did here, but it's up to you. I used to only cut them into large cubes because in my mind, that was what stew was supposed to be. The Indian's mom cut them into julienned pieces the first time she made it for me. I think I like the julienned slices of veggies because you get a bite of all the veggies on each spoonful. I also think the smaller your veggies, the more seasoned they become and soak up more of the flavor of your stew. You can also add mushrooms and other vegetables. Sometimes, I like to add a can of large, white beans too.
After scrubbing and peeling my potatoes, I cut into even slices like this:
Then I stack them back together and slice them diagonally like this:
The larger you cut your veggies, the longer you have to cook them, so keep that in mind when you decide what size you're going to cut your veggies into. No matter what size you decide on, just be sure you cut your veggies uniform and the same size to ensure equal cooking time.
Often times, while chopping and cutting potatoes, my mind wanders and I think back to when I was in high school....
I had this wonderful science teacher when I was in high school, Mrs. Bernie Reeves. One time (at band camp), she asked us why potatoes cook faster when you cut them smaller. She sent us home to ponder the question for homework. Given my absolute adoration of potatoes, I thought for sure I would was a shoe in for figuring out the right answer.
The next day, I raised my hand and said, "Potatoes cook faster when cut up because the mass is smaller so it takes less time to cook." Smug in my confidence that I was right, I sat waiting for her acknowledgement....it did not happen. I don't remember who answered it correctly. But somebody raised their hand and answered, "It's because cutting them smaller creates more surface area."
Pshhh. Yeah, right....
Oh, he was right? Oh.
Since high school for me was pre-internet, I'm still dumbfounded that they came up with that answer on their own. I'm also still devastated that I didn't get that right. I was robbed! Robbed, I tell ya! I don't think I'm letting the cat out of the bag for future students of Mrs. Reeves, because I believe she's retired now. Anyway. Food and science. Who knew? I apply this concept to my jjuk/congee recipe too. Thanks, Mrs. Reeves.
Moving on. Cut up your other veggies the same size as your potatoes.
After about an hour, your beef and onions look like this and your beef will be tender:
If your beef is not tender, just put the lid back on and wait some mo'.
Now I add my stewed tomatoes. Sometimes I use sliced and sometimes I use whole. I used half this large 28 oz can for this recipe. I poured the tomatoes into my hand and squished them. Or you can chop them up on your cutting board, but why create more dishes to do later?
I must have been over zealous in my squishing because this happened:
Oops. HAHAHAHAH! Good stress reliever.
For this recipe I used one entire 2 pound container of beef stock. You can use chicken or veggie, but I think it tastes much richer when you use beef stock.
Add your julienned veggies...
And cook for another half hour until all veggies are soft. If you cubed your veggies into large pieces (or chose not to create more surface area), then maybe another 15 minutes until your veggies are cooked. I just realized, as I was typing this, that by cutting your veggies smaller and creating more surface space, it probably has something to do with why your veggies become better seasoned (more surface space = more space for seasoning to happen). Hmmm. Maybe there is something to this idea of creating more surface area. Darn it, Mrs. Reeves!
After half an hour, remove your bay leaves.
So this is the part where I always start to get nervous. I've messed this part up PLENTY of times. The Indian's mom makes a simple flour roux (pronounced rue...oh you silly French) to add to the stew and it transforms it from a thin soup to a thicker, richer gravy. It took me a long time to figure out that I had to use cold water for this. Not room temperature, but cold water. It took me a long time to realize that despite my understanding of roux having a fat or butter base, just water and flour work best here.
In a saucepan, add one heaping spoonful of flour to one cup of cold water.
Mix well to get rid of any lumps
Add some salt and pepper
Turn up the heat to medium while whisking with your spoon.
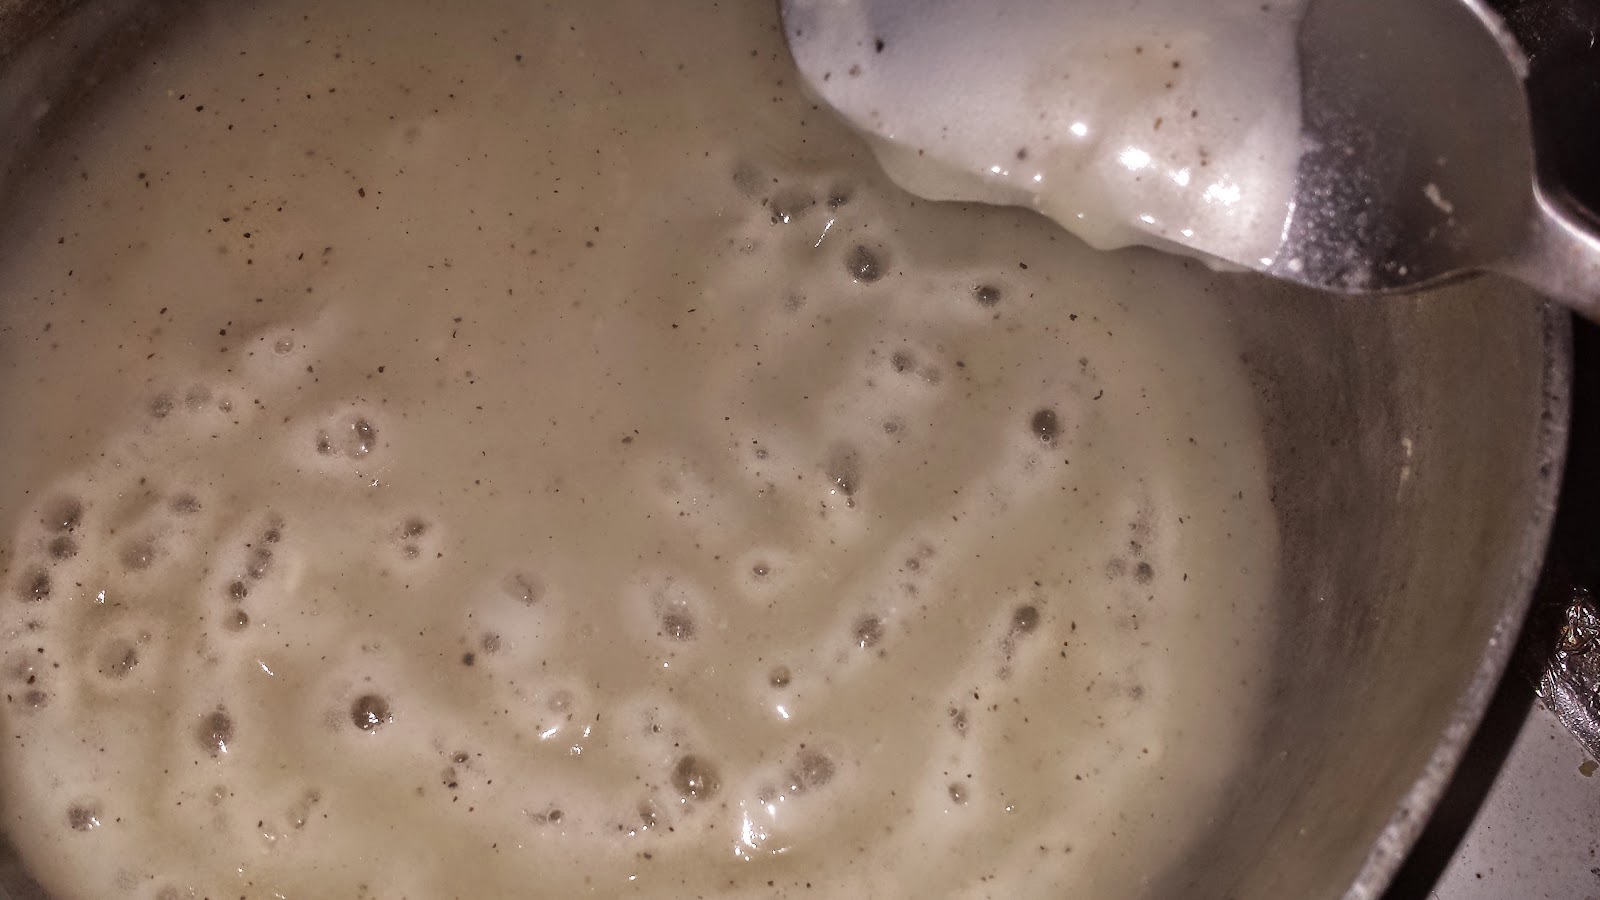
Bring to a boil and whisk for a full minute. You have to be sure to "cook" the flour to get rid of the raw flour flavor. It will start to get really thick, which is what you want, but not so thick that it's like goo.
If it looks like this, it's a bit too thick so add some more water being careful to work out all the lumps.
Now add your roux, also known as thickener, to your stew and stir.
Your broth will become more like gravy.
Serve over rice. Eat with fry bread or crusty thick bread.
I'm certain this version would make my out laws proud. Although I'm pretty sure my brother out laws would say to use more beef. Funny side note, when I served this to my Indian for dinner, he asked me why I cut the veggies this way. When I told him this is how his mother does it, he asked, "She does?". Hmph.
Serves 4-6, depending on if you serve with rice.
Or just one of my Indian Brother Out Laws.