Saturday, April 25, 2015

Ground Pork in Black Bean Sauce/Szechwan Style

Hey.  Did you know that there are different types of Chinese cuisine?  Panda Express doesn't count....

Szechwan style originated in the southwest part of China and its known for it's bold flavors and liberal use of garlic and chili.  Um, yes please.  It's no wonder that it's right up my alley.

I was at a Filipino market recently...I know we were just talking about Chinese food, hang in there.  I had never been before and I saw things I had never seen before.  It was fascinating.  There's always some cross mix of Asian items at Asian markets, like Japanese products in Korean markets and that kind of thing.  But any way, I stumbled upon this:


I had to have it!  I've seen it before, but for some reason, it inspired me so I adopted it and brought it home. Only I would be inspired to cook Chinese food while at a Filipino market...

Here's the simplest black bean dish you can make at home.  I used ground pork, but you can use chicken or beef or no meat at all.  You can just make stir fried veggies using this sauce.  It's salty and rich and makes a delicious stir fry.  You can also use whatever veggies you want.  I had originally thought I would use green beans, but I had this Korean squash that needed to be used up so opted to go that route.

Here's what I pulled out of my fridge for this concoction:


1/2 pound of ground pork


fresh, chopped garlic (as much or as little as you want)


I call this gang the aromatics....onion, ginger and dried red chilis 
(if you don't have dried red chilis, you can used crushed red pepper or none at all if you don't want spicy)


King trumpet mushrooms and Korean squash
(King trumpet mushrooms are really meaty when cooked.  You can use any kind you want or none at all.  This was also a fridge cleaning mission for me so I added the mushrooms)


and this bad boy, of course...


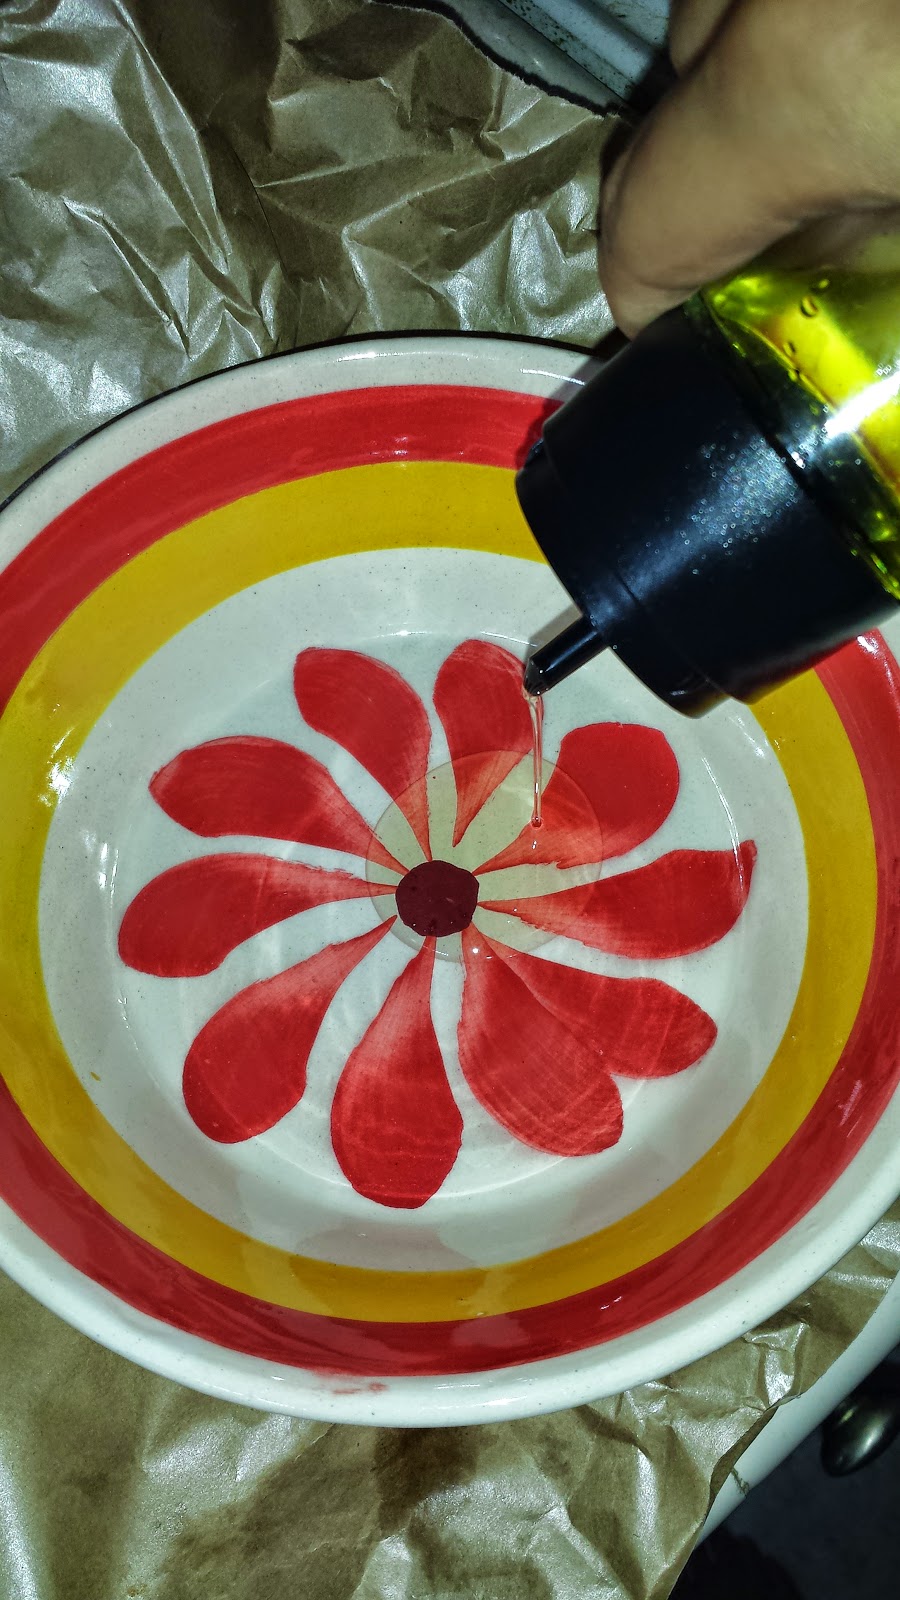
Grab some oil to start with too.  I just used olive oil. 

Normally when I cook, I just chop as I go along making sure to add the veggies or meats that need cooking longer first.  In Chinese cuisine, that doesn't really work because everything goes super fast....so I actually chop everything up first before I even turn the heat on.  Trust me....this is super fast.


I used a piece of ginger about the size of a really thick quarter.  Make sure you peel it first.


Then finely mince your ginger.


Here's a pic of the first line of defense...just kidding.  These are your aromatics.  I used about 1 heaping tablespoon of crushed garlic, 1 tablespoon of fresh chopped ginger and 6 dried chili peppers. (If you don't have these kinds of dried chili hanging around then feel free to use crushed red pepper..you know, the kind that come with pizza.)


I chopped up my onion, squash and mushrooms.  Here's what the inside of Korean squash looks like.  It's meaty and drier than other kinds of squash.  It soaks up flavor really well.


Here are my veggies.  All ready to go!


In a non-stick pan or well seasoned wok (if you have one) add about 2 tablespoons of oil (I used olive) on med high heat.


Throw in your aromatics.  The smell is immediately amazing.  Careful not to burn.


After a few seconds, I dumped in my ground pork.


When it becomes brown and crispy, add your veggies


Saute for a minute or so until your veggies are soft.  Then add a heaping spoonful of the black bean sauce.


I added about 1/4 cup of beef broth.  You can use water.  Again, I was on a fridge cleaning mission and had a little broth I needed to use up so I used broth.  


Hey, look!  I had a little bit of tofu I needed to use up so I threw it in as well.


And, darn.  I just like my food spicy so I threw in some chili sauce for good measure (but you don't have to).


I let it simmer for another minute and viola!  
If your sauce isn't as thick as you'd like it to be, just add a little cornstarch dissolved in water.


I ate this over rice, but its also good with noodles or even over a bed of fancy greens if you're cutting carbs.
Feel free to try broccoli, asparagus, carrots, or whatever veggies you have on hand. You can add peanuts too if you want.  Black bean sauce is like a miracle stir fry.

Here's a version I made with mushrooms,  bell peppers, celery,  cauliflower and onions with pork.   I also used less water to make it drier and added chopped water chestnuts.  I used it as filling for lettuce wraps.  YUM!


Impress your friends and family with your Szechwan cooking abilities!


Saturday, April 18, 2015

Bacon Fat Fries


I know this is really hard to believe...but I made these on accident.  


Well and by accident, I mean that I really hadn't planned to make these at home.  Have you ever been to Beer Belly in Ktown?  They have the most amazing duck fat fries and bacon fat fries.  If you're interested in checking out Beer Belly click here.  So french fries that have been fried in duck or bacon fat are pretty epic.  The crispy, buttery crunch and the feeling of the fat on your tongue is like no other.  You don't need ketchup.  I just like to season with Lawry's seasoning salt and some black pepper.  The first time I had duck fat fries, I had to close my eyes for a second to just savor the fat hitting my tongue.  The only other time I had an experience equal to duck fat and bacon fat fries was a loooooong time ago when I was living in the dorms.  I met this girl from Pennsylvania.  Her mother sent her a care package of Grandma Utz kettle chips.  It was this OMG moment when I ate my first chip.  I read the label and read that it was cooked in....lard.  yeah.  

So here's what happened....I had made bacon for breakfast so I was left with bacon fat afterwards.  I don't pour it down the drain  nor do I like throwing in in the trash hot so I poured into a glass to let cool. I thought I'd scoop it out later and throw in the trash.  


That evening, I made beef stew for dinner and had peeled too many potatoes.  At the last minute, I opted not to use all potatoes and just left them in the sink soaking in cold water. Don't worry.   I didn't waste the peels either.  I use those for potato peel fries chips that I bake in the oven.  You can check that recipe out here.


The next day when I got home from work, I realized that I had the perfect combination to make bacon fat fries.  So why not?  Let's go for it.  Soaking the potatoes for a day in water helped remove a lot of the starch.  Why does this matter?  Well, removing the starch makes for a much crispier potato.  I read somewhere that it also makes the potato lower in carbohydrates...I'm not sure if that's true or not, but I do know it makes for a crispier french fry.

I'm not actually deep frying these.  It's more like pan frying.

All you need is:
Bacon fat (I think I had about 10 tablespoons or so?? I don't actually know)
potatoes that have soaked in water overnight
Lawry's seasoning salt
black pepper

That's it.  Oh, and some patience.

Here we go...

I nuked the glass with bacon fat in the microwave just a tiny bit to warm it and turn it back into liquid form.
Then I poured it into non-stick frying pan.  Heat the bacon fat on medium to medium low.  If you don't have enough bacon fat to cover your potatoes, then add a little bit of olive oil like I did.

I took the potatoes and sliced them lengthwise.  I sliced them fairly thin and then I stacked them back up like this:


Then I sliced them into strips


I like to go fairly thin to cut down cooking time.  Just make sure you cut evenly so that all your potato sticks are evenly sized to ensure even cooking time.

By now your oil is hot.  Use medium low because you want it hot, but not so hot that it's smoking and burning.  Add your potatoes in and try to make sure they are evenly spaced out and all covered in oil.  If you have to do two batches, then do that.  Don't over crowd your pan or you'll end up with something that's more like a bacon fried hash brown...that's not a BAD thing, but fries are so much more fun to eat.


Here's a little video...wish you could smell it too:


These guys started to get brown and crispy after about 5 minutes (remember we're cooking on medium low and I made these really thin) and so I flipped them over to brown the other side.  They can get really crispy so if you don't like them like that, then cook for less time.  

I used a wooden spoon to transfer them into this old pie tin while I started the second batch.  Repeat the same process with the second batch.

When the second batch was almost done, I added the first batch back into the frying pan to reheat.  I remove all the fries from the oil into a bowl lined with a paper towel and IMMEDIATELY season with Lawry's seasoning salt and pepper.  

Eat them while they are hot.  They are divine.

I make in small batches.  I think this is kind of a small batch kind of treat.  I also don't make these too often.  Or try not to.  But once in a while is okay.  They also aren't that hard or scary to make.  I found this on the livestrong website and I almost died laughing:

Warnings

  • Cook fries with a helper. Deep-fry accidents can leave you incapacitated, so it's good to have a friend around to help if something goes very wrong.


I think you'll only need help eating these...


Sunday, April 12, 2015

Mashed Califlower and Potatoes with Garlic and Sour Cream

I made this epic Prime Rib Roast the other day.  Nothing goes better with Prime Rib Roast (Yes.  I think it merits capitalization like a proper noun...) then potatoes.  I wanted to bake some potatoes, but the Indian and I negotiated and we landed on mashed potatoes as one of the sides for our Prime Rib.  If you are interested in the recipe for the Prime Rib, you can click on this link here.

He agreed that he was willing to try a hybrid of mashed potatoes and cauliflower.  Personally, I would just eat mashed cauliflower and think it's just wonderful.  The Indian needs a little bit of cajoling/deception to eat most veggies (remind me of the time I made a tofu scramble and just told him it was a scramble and he ate it thinking it was an EGG scramble....whatever.  He ate it and he liked it...) so I was excited that he was willing to try the hybrid cauliflower potato mash.


I peeled six small potatoes and threw them into some salted boiling water.


I like to use kosher or sea salt but you can use ionized table salt if you prefer.


I also like to cut my potatoes into halves to speed up cooking time.  Did you know why cutting a potato decreases cooking time?......Anyone? Anyone?  

Cutting up a potato increases surface area and cuts down cooking time.  You can thank my high school science teacher for that tidbit.  I know you'll use it to win the jackpot round on a trivia game show one day.  Thanks, Mrs. Reeves!


I also happened to be at Costco and grabbed this bag of prewashed and cut cauliflower.  You can use a whole head of cauliflowerbut sometimes it's nice to not have to cut, trim and clean.  I used about half this bag which I approximated to be about one entire head of cauliflower.


When the potatoes were starting to get soft but not quite cooked through, I threw in my raw cauliflower.  The potatoes had been cooking on a rapid bowl for about 15 minutes.   I let it all boulder for another 5 to 7 minutes until the potatoes and cauliflower were soft.


Remove from heat, drain off all the water.  Immediately add about a tablespoon of fresh, crushed garlic.  Using a spoon or masher, I push through garlic to the bottom of the pan and make sure it's covered completely by the hot potato cauliflower mix.  The garlic will cook a bit from the heat and will lose some of that acrid spiciness that raw garlic can have.


I add some real butter (you can skip the butter if you prefer).  I think it tastes fantastic without butter too.  Add about a cup of sour cream and black pepper.  I generally don't salt because I'm pretty generous with the salt that I use in the boiling water.


Using a masher, make sure to mash and mix completely keeping in mind to distribute your garlic evenly.


This steamy, creamy concoctionis divine!


AND...you can make this and start to decrease the amount of potatoes until a certain vegetable avoiding person doesn't even notice that it's mostly cauliflower!  SHHHHHH...

This is a great way to bump up your veggies intake while cutting out some starch and carbs from potatoes but not giving up flavor and texture.


Prime Rib Roast

You know what's awesome?  Prime rib roast.


It's not often that I crave meat and potatoes.  Usually I want spicy, garlicky ethnic food.  But sometimes, you just want a good piece of prime rib.  Until recently, I'd always gone to a restaurant to fill those cravings.  Like Lawry's.  MMMM!  There's just something about a nice slab of medium rare prime rib complete with mashed potatoes, creamed spinach and Yorkshire pudding....and don't forget the horseradish and au jus.

Make sure you get:
Prime Rib Roast (I usually got for 4-7 pounds. That's enough to feed 4-6 regular people or one Indian dood)
kosher salt
black pepper
olive oil
crushed garlic
dried herbs (optional)

It's actually really simple to make.  You just have to invest in a good piece of USDA prime grade prime rib roast (bone in.  ALWAYS get bone in).   It looks like this:


This is about a 5 pound piece.  It was on sale for Easter for a mere $5 bucks a pound!  There's usually good deals around major holidays.  Nothing says holiday like pigging out! Be prepared to pay more than that without a sale.  I think they have a good deal at Costco, but I'm not prepared to buy it in bulk like that.  I like to buy it ahead of time and let it age in my fridge.  It's not real aging.  I don't have the right temperature conditions for real aging.  Why age your meat?  I know this sounds strange, but aging helps break down the connective tissue which will make your beef super tender and the process helps deepen the flavor of your beef.  So I just do my version of it.  (Ask the butcher for about 2 feet of twine.  They usually will give it to you for free.)

I bought this 5 days before I cooked it.  Ask your butcher to cut it away from the bone, but don't completely cut off.  Then have him tie it back on with butcher's twine.  This is usually how it comes, but make sure to ask.  Trying to cut it yourself is tedious and almost impossible unless you have really good butcher knives.  I salted with Kosher salt and wrapped it back up and let it sleep in the fridge.

This is the tedious part...Check your rib roast everyday to make sure its not sitting in moisture (blood).  I use paper towels to wrap it and change them every day. Then I wrap it back up in the butcher paper that it came in.  Look.  I get it.  You're taking advice from a girl who can't even remember to scoop her poor cat's litterbox everyday...but you have to do it.  If you let it sit in moisture, it will rot and go bad.  I don't always salt it.  I think it helps season all the way through.  Maybe not.  But you have to check it to make sure it is not sitting in wetness for every day its sitting in your fridge waiting to be cooked.  Okay? Cool.

When you're ready to cook your meat baby, make sure you let it come to room temperature.  Some cooking sites will say to pull it our at least 30 minutes before cooking.  But trust me, it will take more than 30 minutes to come to room temperature especially if your roast is on the larger side.  I took mine out and let it sit in the oven (turned off, of course, and still wrapped in butcher paper) for about 3 hours.  It's okay.  It won't rot in that time.


Turn on your oven.  Set it on roast (if you have settings) and to 450 degrees.

Okay.  Now the seasonings for your meat.  In a bowl, I add about 2 tablespoons of olive oil.


To the oil I add 1 heaping tablespoon of crushed garlic and 1 heaping tablespoon of dried herb d'Provence (which is just thyme, oregano, savory, rosemary, marjoram, and lavender).


Mix it up and make a paste.  Add more oil if you need to.
Also, make sure to have kosher salt and pepper on hand.


I take the butcher's twine off and expose the side that's tied to the bones. 
Don't cut it.  Unless you have some extra to tie back onto the bones


Slather your garlic, herb paste and salt liberally with kosher salt and pepper as much as you want.
Don't be afraid to really add a good amount of salt (it's a large piece of meat you need to season).
You can do all this in your open butcher paper that your meat came in.


I tie the meat back onto the bones and slather the oil herb paste onto the the exposed sides of the meat.  
Make sure you salt and pepper all sides.


Grab yourself a shallow baking pan with a wire rack like this:


Oh!  And if you seasoned your meat in the paper...


Clean up is a snap!  Boom.  Throw in the trash.


Place your meat bones down, fat side up.


Your oven should me nice and hot by now and ready to go.  Place your meat baby in the center rack.
I like to let it sear on high for about 20 minutes.  This will help form a nice crust.

Then I turn it down to 325 and let it roast for about 15 minutes per pound.  15 minutes per pound if you like your prime rib medium rare (like I do!!! mmmm.), more if you like medium/medium well.

Take your roast out and let it sit for about 15 minutes before slicing.  You have to give it time to relax. It will continue to cook while it is resting.


Slice and eat with horseradish and au jus....mmmmm.


This 5 pound roast can feed 4 - 6 people depending on what kind of sides you have. 

If you have leftovers, you can slice up and make french dip sandwiches or chop up and make prime rib hash for breakfast.  I like to save the bones and make my own beef stock.