After years of experimenting with mashed potatoes-roasted garlic, boiled garlic, milk, cream, cream cheese, sour cream, mashed, whipped...here's the recipe that I stick to.
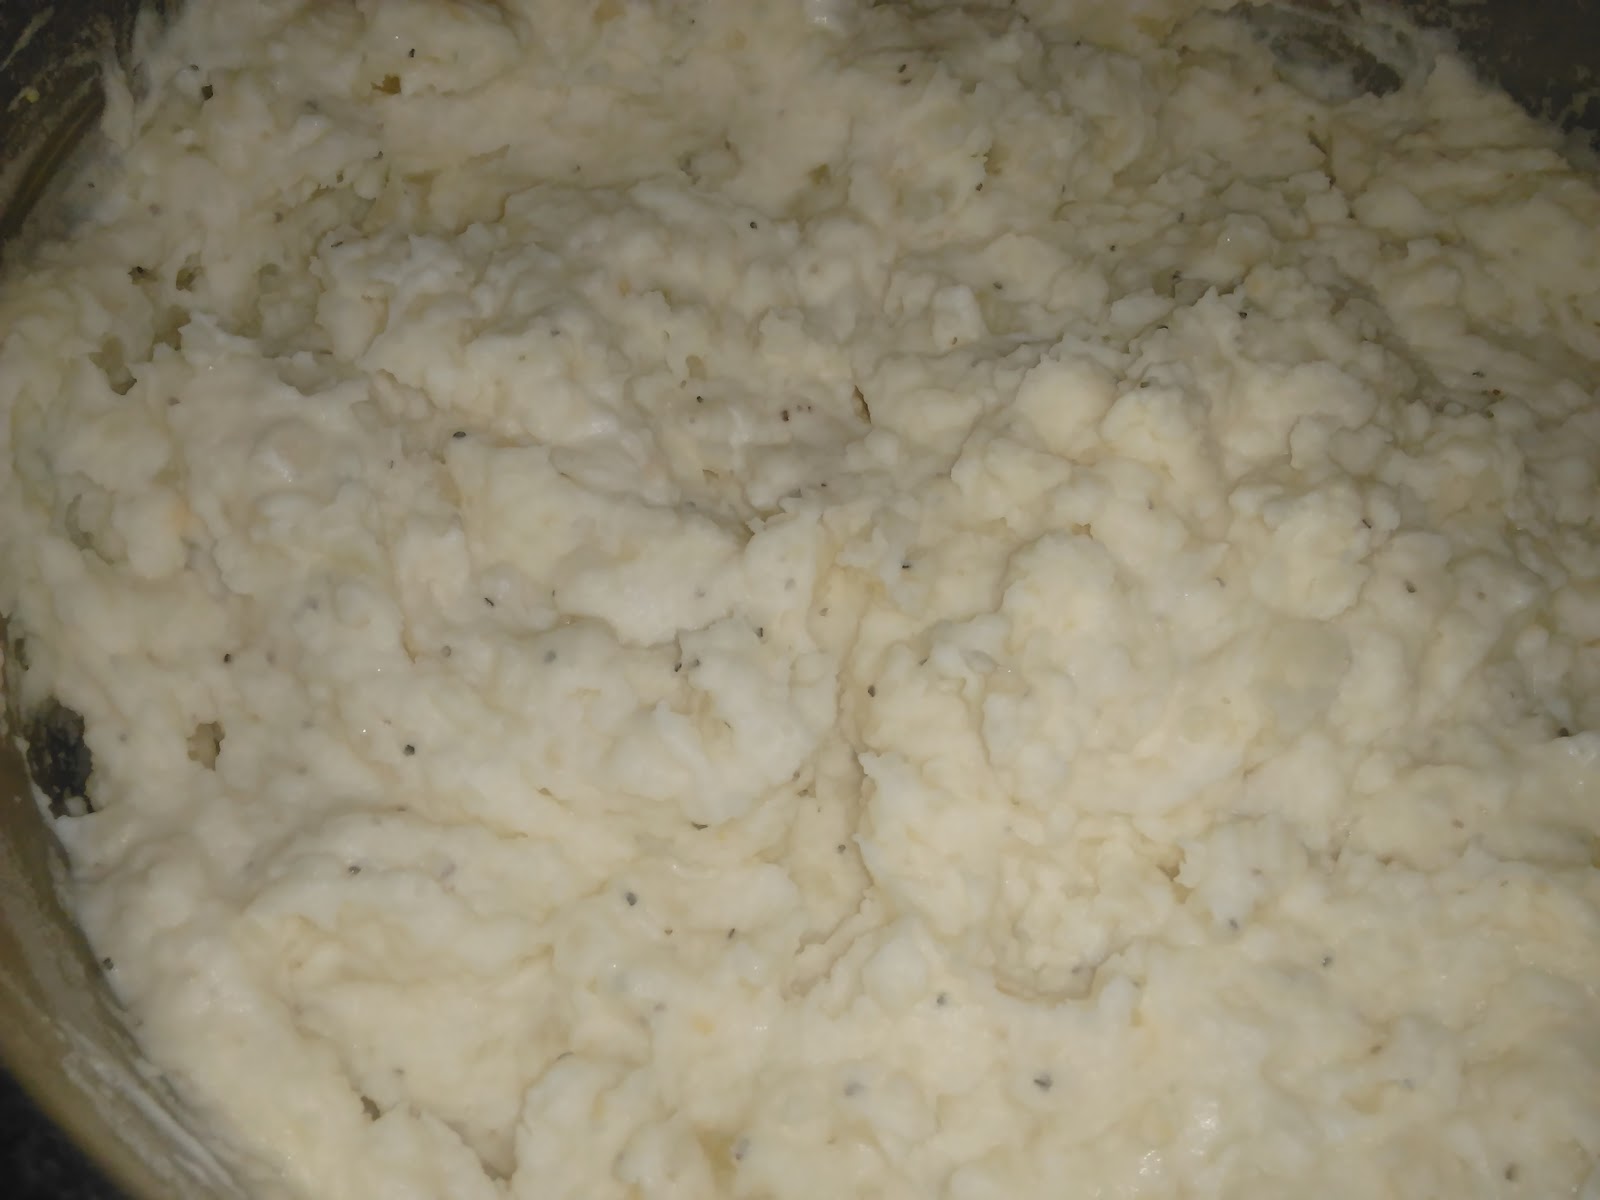
Behold. Fluffy, sour cream and garlic mashed potatoes.
The Playa's:
Potatoes
Sour Cream
Butter (I used one entire stick)
fresh crushed or chopped garlic (raw)
kosher salt
black pepper
There are a lot of different kind of potatoes out there and it definitely matters, but for this recipe, you just have to be sure not to choose a waxy type potato like red or purple. For this, I used a russet. Yukon gold works great to but the point I'm trying to make here is that you don't have to go searching for any special kind of potatoes, you just want to avoid the waxy kind or you won't get a fluffy mashed potatoes.
We should start by talking about how many potatoes to use. Generally, I use one small to medium potato for 1 person. So if I'm making for 5 people, I use 5-6 potatoes. Actually. That's not true. I usually make a HUGE batch because who doesn't want leftovers to reheat or make into these?
If you have humongo potatoes like this one:

(Seriously, the picture doesn't do it justice. It's the size of my foot. ) If your potatoes are from Costco, like mine are, and like everything else in Costco they are jumbo sized, then you can assume 1 large potato for 2 people.
I scrub the potatoes because I like to save the peels to make Potato Peel Chips. It's much easier to have clean peels when making these chips. Trust me. So scrub first!
I then cut the potatoes in halves (if using small sized) or quarters (when using large sized) and soak in cold water. If I remember, I'll do these the night before so they sit over night in water. If I don't remember, I try to at least do this an hour or so before I need to cook them. Be sure you drain the water you soaked in and use fresh water to boil your potatoes in.
Why? Thanks for asking. By letting your potatoes sit in water for awhile, you allow time for some of the starch to be removed. This will help with making your mashed potatoes really light and fluffy. Also, cutting your potatoes helps cut down cooking time (Thanks, Mrs. Reeves, for teaching us in high school that by cutting potatoes, you increase surface space and therefore decrease cooking time. I also apply this principle to maximizing surface space to remove starch from my potatoes.) You don't have to do this step. But if you have time and remember to do it, I recommend it.
For this batch I used 8 really large potatoes. I'm feeding a lot of people.

After draining the water the potatoes soaked in, refill with fresh water. I add about 3 to 4 heaping tablespoons of Kosher salt to boil. Yes. I do realize this is a LOT of salt. But I do it for 2 reasons: 1) it helps bring my water to boil faster. 2) I don't add any additional salt to my potatoes.

If you must know. This method happened on accident while making mashed potatoes one year. I dropped way too much salt in the water. It had already started to get hot and I didn't want to dump out the water and waste it so I just went with it. I found that after I dumped my water out, the potatoes were nicely salted. I like that my boiled potatoes cook in the salted water and become nicely seasoned. You can not add salt to the water and salt to taste as you mash if you prefer.

Cook times will depend on how many potatoes you're cooking. After they are done cooking and you can easily push a fork or chopstick through them, turn off the heat and drain off ALL the water. Push your boiled potatoes over to the side so you can see a little bit of the bottom. Plop in your stick of butter.
Grab your raw, fresh crushed garlic and add about half a tablespoon to a tablespoon (depends on if you're making a little or a lot) and blop it right into the hot potatoes. I like to plop it right onto the bottom of the hot pot. Then plop in about a half to one tablespoon (use a lot if you like garlic or less if you're afraid of garlic) of raw, crushed garlic into the bottom of the pot.
Don't be afraid of the raw garlic. I know it sees kind of scary since raw garlic can be really potent and burn. But we will be letting it steam a bit. I used to roast my garlic and I used to boil whole cloves with my potatoes and while I love all versions of garlic mashed potatoes, I always found myself wishing the garlic flavor was a little more pronounced and using raw, crushed garlic does exactly that.
See? I used this heaping tablespoon! Boom! In it goes.

The butter starts to melt right away and mixes with your garlic.

Then I like to take the hot potatoes and pile them on top of the butter and garlic to help steam the garlic a bit and melt the butter.
Put the lid on your pot and walk away for at least 5 minutes.
(Please excuse my water spotted lid)

When I come back (you always have to come back!), I add some black pepper. I DON'T salt because I heavily salted my water and my boiled potatoes are already nicely seasoned. If you didn't heavy salt your water, feel free to add some salt now.

Add one entire 16 oz container of sour cream to your potatoes. I probably use more than that to be honest, but that's a good starting point. If your mashed potatoes seem dry, you can always add more.

Now comes the fun part. I use a metal potato masher and mash away. Don't forget where you garlic is in the pot. Make sure you're distributing it around or someone will get a big blop of butter garlic (winner!).

Oh, look! There it is!

If you boiled your potatoes enough, mashing will be super easy. Some people like to use a hand blender or potato ricer. I just like to use a masher. It's less stuff to clean up (or more stuff to lick mashed potatoes off of!) and I like my mashed potatoes creamy but with a few lumps. If you like yours completely whipped feel free to use a hand held blending stick or potato ricer. Because we pre-soaked and removed a lot of the starch, your mashed potatoes will be fluffy.
I like to then take a huge spoon and really mix up my potatoes, taking care to scrape the bottom where the garlic sat to ensure even distribution.
Viola! Fluffy sour cream and garlic mashed potatoes!

Eat with anything you want. You can top with gravy if you must....but I have to be honest, I really think these mashed potatoes can stand alone. When the Indian guy I live with pours gravy over my mashed potatoes, I have to turn a blind eye and pretend I don't see it.
I'm responsible for mashed potatoes on both Thanksgiving and Christmas and usually my friends and family won't let me in the door unless I show them my pot of mashed potatoes. One year, en route to Thanksgiving dinner, I looked in the backseat and noticed that the Indian guy had seat belted the mashed potatoes in. I guess that's a huge compliment, right?


