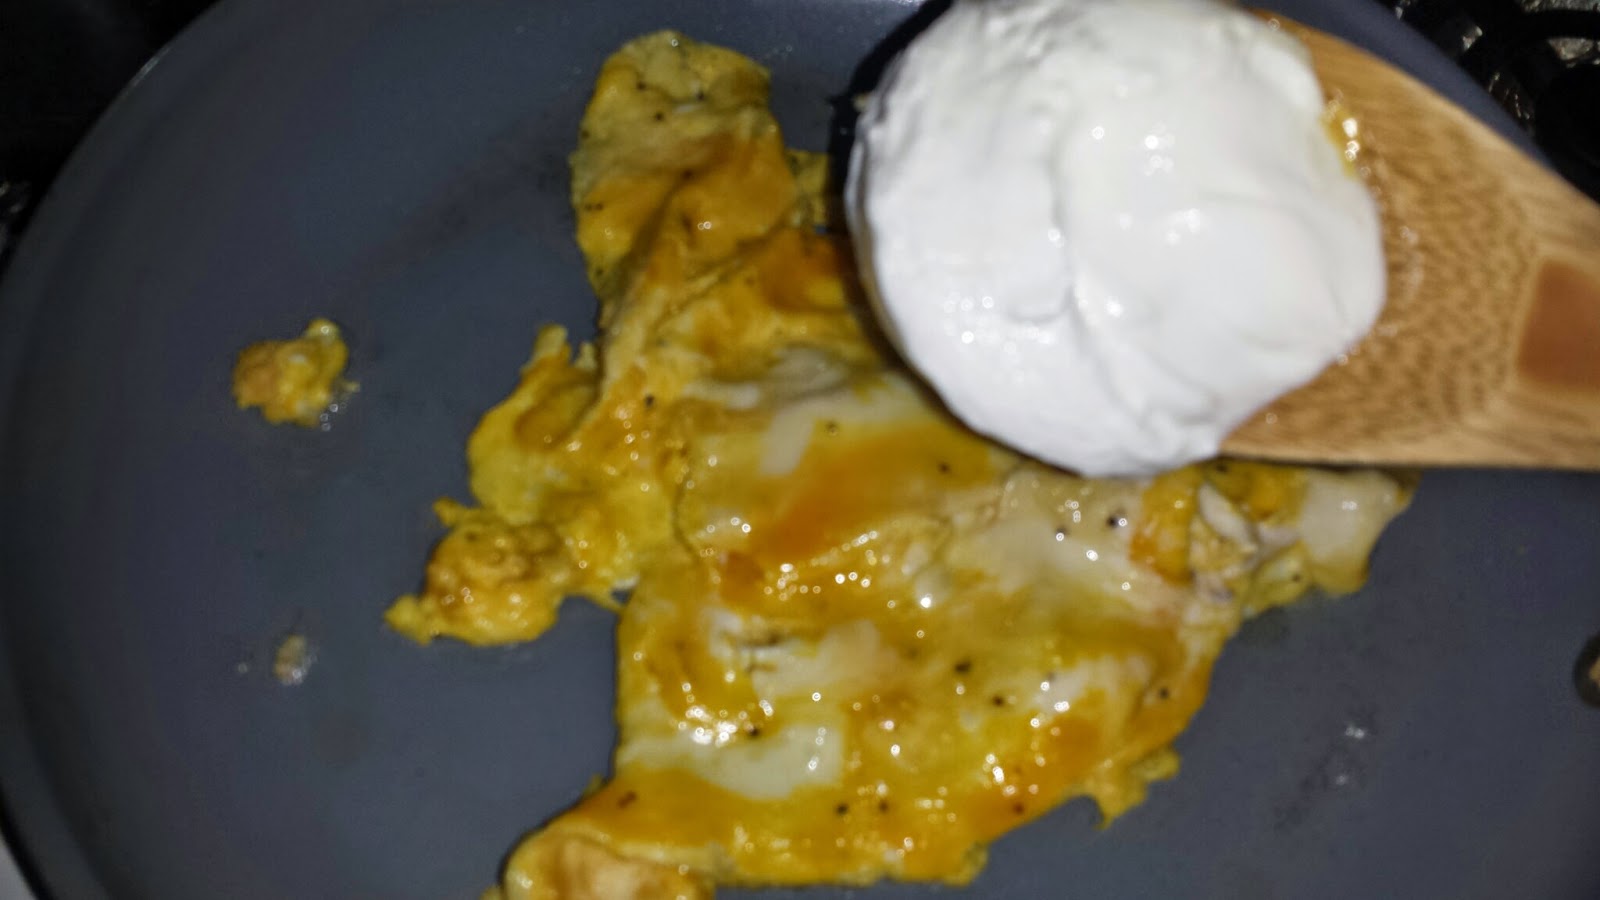
I got this recipe from Anthony Bourdain's show Layover when he stopped in LA. He made himself these eggs for breakfast and needless to say, he had me at sour cream.
A few days ago, I went out with some friends and overindulged on AYCE Korean BBQ. I've been feeling kind of full and sluggish since then so I opted for this breakfast instead of the usual baconfest that usually happens on weekends at my house.
All you need:
eggs
sour cream
green onion/chives (optional)
This literally takes 2 minutes.
Crack two eggs into a bowl.
Season with salt and pepper.
Whip up your eggs.
Pour your eggs into a non-stick pan over medium with a little olive oil. Or bacon fat....Yeah. I know.
I let the eggs cook just a bit before stirring them.
Now grab this creamy goodness.
Plop in about 2 tablespoons. Boom. Blop.
Turn OFF the heat and continue scrambling with the sour cream. If you have chopped green onion or chives, sprinkle them in now. I didn't have any, but if I had, they would have ended up in here.
Why do I turn off the heat? Because there's nothing worse than dry over cooked eggs. There's enough heat in the pan to finish cooking your eggs, trust me.
That's it! Done. I can make these faster than it takes the toast to toast.
This obsession started a few years back when I happened to stumble upon the Oyster Bar in the Palace Station in Las Vegas. Truth be told, I now go to Vegas to hit up the Oyster Bar. It's not a successful Vegas trip without a stop (or two) at this place. Here's a link to the Oyster Bar on Yelp. Click here.
So if you clicked on the link and poked around, you'll know that everyone is talking about their Pan Roasts. What is pan roast you ask??? It has nothing to do with beef at all. It's more like a super, rich and decadent seafood chowder-zilla. It's tomato based with cream and wine. And brandy if you have it! It's served with pasta or rice. rice. rice. Rice is the way to go, if you ask me, but pasta is good too.
There are versions that use lobster, oysters and even andouille sausage. I chose to use shrimp and crab. Here it is in all it's crab and shrimp glory.....
You're gonna need to grab:
fresh or frozen raw shrimp
fresh or canned crab (or both!)
fish/seafood stock
onion
bellpepper
garlic
celery
tomato paste
heavy cream
cooking sherry or white wine or brandy
butter
flour
cajun seasoning
black pepper
Old Bay Seasoning
hot sauce
crushed red pepper
***since this post, I have replaced the wine with brandy and it is divine! I also put it in before the stock and let it cook off a bit. Both is good. Brandy adds a little more complex layer of flavor.
So I happened to have left over crab from a family meal. These were rock crab. But you can use dungeness crab if you have it. Or you can just use canned crab too. I used BOTH for this recipe because that's how I roll.
I carefully picked all the meat I could from the left over crab. I ended up with about this much:
This was about 1 cup of crab meat.
I used all the shell from the crab and boiled it in a 1 quart saucepan with about 5 cups of water to make my own seafood stock. For those of you who are familiar with fresh crab, you know there is like a bunch of yellowish, greenish stuff inside the carapace (the part that all the legs are connected to). Don't throw it away. You don't need to scrape it out. It's perfectly good for eating. In fact, trust me when I say it makes your seafood broth reallllllly rich and yummy. Trust me. While that's boiling, cook your rice. I use long grain rice for this. Short grain will just get mushy.
I also used this can of crab meat. You can never have too much crab. Really.
So while the shells are boiling on medium to medium high heat, I chop up my veggies.
I cut up one medium onion, one green bell pepper and three stalks of celery.
I also put aside a pound of frozen but raw shrimp in a bowl to defrost.
These are your seasonings. Get them ready to go.
So after about 45 minutes, I strained the shells from my stock and ended up with over 2 cups of this rich seafood broth.
Now it's time to start!!
In a heavy pot or dutch oven, melt one entire stick of butter over medium heat.
To my melted butter, I added my diced onion, bell pepper, celery and a HEAPING spoonful of fresh crushed garlic.
I'm a huge believer in seasoning as you cook so I do that now. I add black pepper and cajun seasoning. Use as much or as little as you want.
I also like this dish to be nice and spicy so I also add a handful of crushed red pepper.
I added a good amount of Old Bay seasoning. It's a perfect blend of herbs and is the standard for cooking seafood.
Once your veggies are translucent, I added two heaping spoonfuls of flour.
Saute your flour for about a minute and until it starts to stick to the pan.
Remember your shrimp? Add that now.
Add your seafood stock. If you're using canned, that's okay. Canned is good too. I just happened to have crab to make homemade seafood stock, but you don't have to.
Now I add my white wine. You don't have to spend a lot on wine.
I just try to use a more drier white wine.
Look, I got this one on sale for $2.99 at Target.
I added about a cup of wine to my pot and about a cup into my mouth. Just kidding! I also like to put in a good shot of brandy if you have it on hand...in the pot not your mouth. Just saying.
At this point you will be tempted to eat it as is, but refrain! It gets better. Keep going.
Bring to a boil and then add your tomato paste. I used a 6 ounce jar. The entire thing.
Once your paste is dissolved, add your crab meat (both fresh and canned).
Allow your pan roast to do a gentle, rolling boil for about 5-7 minutes.
The wine needs time to cook off a little bit. (You could drink some wine while you wait!!!! Brilliant)
Then you hit it with some heavy whipping cream. I used about a quarter of a cup. You can use more. I know for a fact that the Oyster Bar in Vegas uses a LOT more....but not getting heart disease is kind of nice too. "Live to eat another day!" I always say.
And that's it. Serve with rice or over pasta. Now the mouth party begins.
Not as good as the Oyster Bar in Vegas. But pretty close.
Try dipping some crusty bread in it. Try not to burn your tongue as you hoover it into you mouth.
So these actually started out as Cauliflower Crust for pizza, but right in the middle of it, I thought I'd rather fry them up instead of bake them. Sometimes I'm like that. I'll get inspiration in the middle of things or actually DREAM up foods to make...it must be my fat gurl power. I couldn't be prouder. I can't imagine losing the ability to dream up recipes....
So follow the recipe for Cauliflower Pizza Crust by clicking on this link here. When you get to the part where you squeezed out the liquid from your cooked cauliflower rice....STOP.
And continue here:
So after adding the cheese and egg, I also finely mince some onion. I used about half a small onion for this recipe. You can use as much or little as you want, but keep in mind that you'll want to mince your onion into very small pieces to ensure that they cook during the frying process.
I added my minced onion to the mix and also added crushed bacon that I had already cooked until it was crispy...everybody say it with me, "Mmmmm. Bacon." I really like these even without bacon, but I stand a better chance of getting the Indian to eat them if I say, "Oh I made blah blah blah with bacon." At least that's how I'm sure he hears it...
For this batch, I used 4 slices of bacon. But I cooked 5 slices. For some reason, some of the bacon goes missing so I always make extra....just in case.
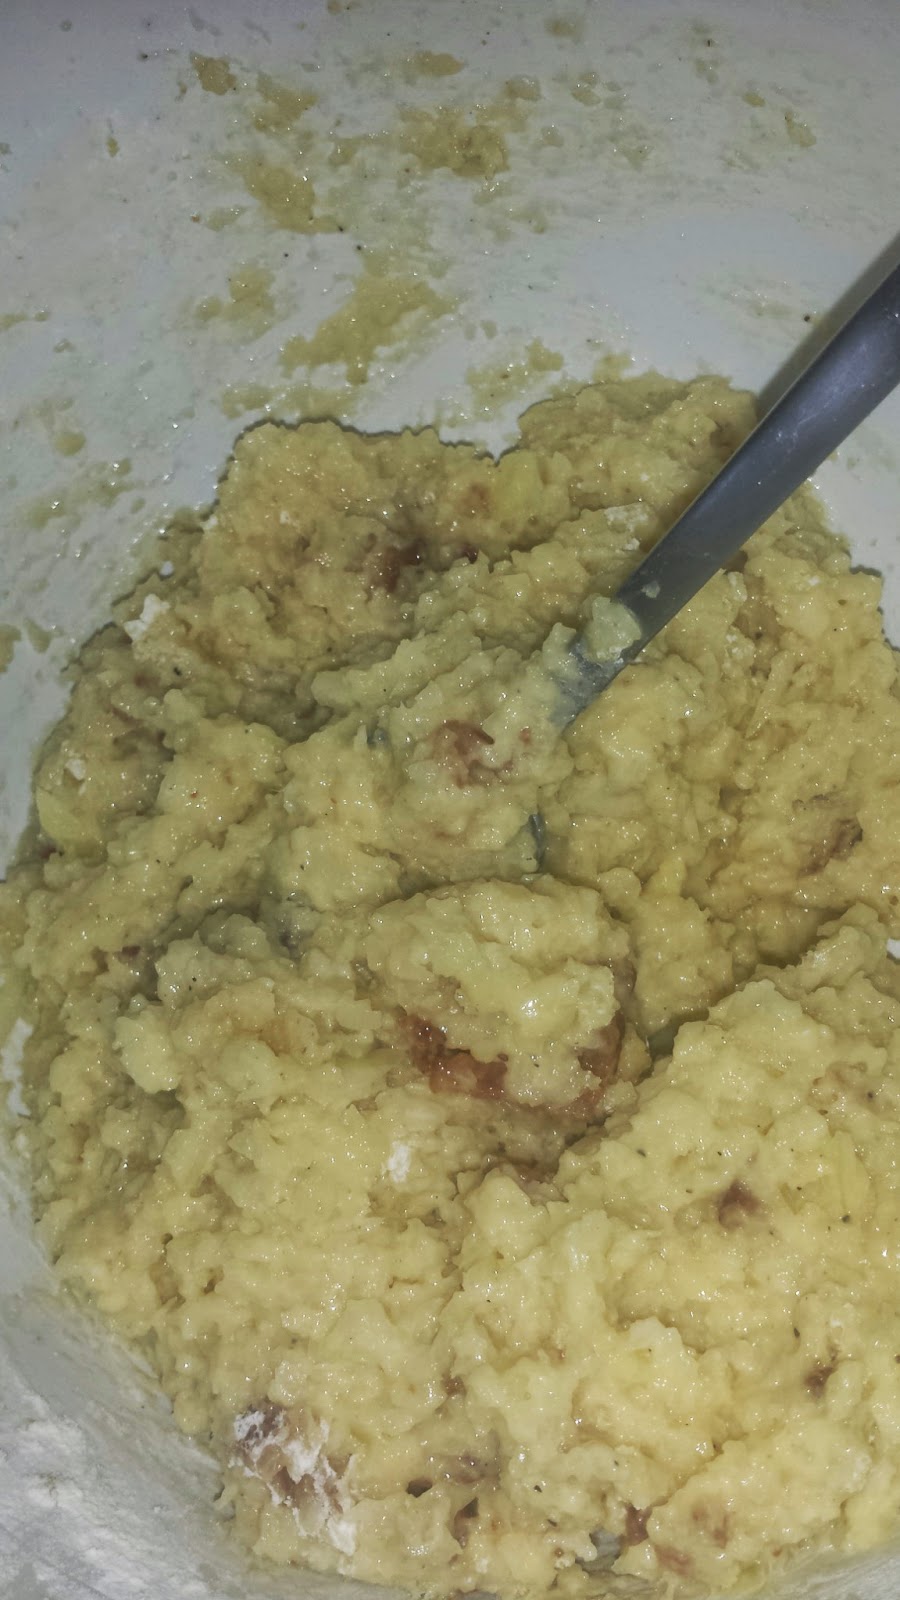
Mix everything up together until you end up with a bunch of cheesy, bacony, eggy goo.
Then over medium heat, I add olive oil to a non-stick frying pan and when the oil is heated, I spoon the mixture into the frying pan like this:
You can use your hands to form patties, but I like the free form blops. I like the way the irregular edges look.
You can use your spoon to flatten out, but that will happen when you flip them too.
You'll notice the edges starting to brown....You'll also notice the divine smell....mmmmm.
When the edges start to brown, it's time to flip them over!
These brown fairly quickly.
You can eat these with sour cream and apple sauce. They taste just like potato latkes to me.
Here's a little tip, too. You don't have to fry the entire batch. I just did enough to eat as a side with dinner and put the rest of the mixture in an air tight container for future use. You can keep in the fridge for a few days and fry small batches at a time. Or you can do them all and eat them in one sitting....And dog gone it, wouldn't you know it? These are no carb, gluten free and even paleo if you're into that kind of thing.
Curry. I just love the way that word rolls off my tongue. I also like the way it tastes! I love all kinds of curry. Indian tikka masala, korma, vindaloo, thai jade curry, red curry, Japanese curry...the list goes on and on. I have yet to meet a curry I didn't like! All people from all walks of life eat different kinds of curries.
I probably love curry as much as these guys:
This is the curry I grew up eating. Technically, this is a Japanese curry. It's sweeter than say an Indian curry, but not as sweet as coconut milk based curry. I can't think of anything else I loved to eat more than curry (well, there was that pork and beans phase I went through, but we won't talk about that now). Growing up, I had braces and whenever I ate curry, it turned the bands on my braces bright green....I still ate it anyways. Of course nowadays, kids can choose different color bands. When I was a brace face, it was just light blue/grey bands. Eating curry was worth the humiliation of neon green bands.
I used to sneak into the kitchen in the middle of the night to steal spoonfuls of leftover curry. Yeah. I did.
My dad HATED curry. So we never got to eat it as much as I would have liked. And for some reason, my mom always made it on the hottest days. So imagine us sitting around the kitchen table, sweating our butts off, noses running and shoveling curry into our mouths. Yeah. Good times. That's great picture, huh?
Back to the curry. This is the quick version. You can also do a beef curry and just stew the meat for a few hours before adding the veggies and curry paste or you can boil raw chicken breasts. Sometimes, I take the time to do beef curry and I like all ways, but sometimes you don't have 2 hours to cook down beef.
And away we go!
Have you ever seen these in the store and wondered how the heck to use them?
These are curry blocks and they are the base for your curry! Make sure you're buying sauce mix and not sauce which is a ready made curry in pouches. S&B makes both kinds. Trust me. The instant pouches are AWFUL. S&B also makes a powdered curry, but that's an entirely different method. My mom told me when she and my dad first got married, she used to have to saute the powder in butter to make the base and it took forever. And if you messed up, it came out lumpy and gross.
This is a 8.4 oz size. Usually you can only find this size in a Korean or Asian Market. Ralph's has a smaller size, but try to buy at an Asian market, if you can. Here's why...the large double block size at Korean markets is $2.50 (usually 3.50, but they ALWAYS go on sale). The smaller half size you find at Ralph's goes for easily $5-6 bucks. Total rip off, righ!?
There are 3 levels of spice. The green is mild, the black is hot, and the red is extra hot. I like the black and red. They are all good.
Grab these veggies:
For this batch, I used 2 medium potatoes, 1 medium onion and half a small bag of baby carrots.
Other people use cauliflower or broccoli. Even radishes, if you wanted them, work here. I've seen some people even use tofu. You can literally use as much or as little veggies as you want. I do a super thick, stew like version. My mom's is more watery and has way less veggies. When you go to places like Hurry Curry, the curry there is not a packed with "stuff". To each their own.
In a 3 quart pot, I bring 4 cups of chicken broth to a simmer. I used homemade chicken broth that I made from a Costco Rotisserie chicken, but you can use canned. You can even use water if you want to. I use chicken stock, because I think it makes my curry richer. Here's the recipe for chicken broth using Costco chicken if you're interested in trying to make your own. Click here.
I add chopped garlic to my broth. My mom doesn't. I just like garlic. I like the way it tastes and I think its good for you. But, hey. That's just me. You can skip this if you want to.
I chopped my potatoes, onions and carrots and added it to the boiling stock. If you ask my mom, she'd say to cut your potatoes a good size so they don't all melt down. But since this is the quick version, I say make 'em bite sized.
Let this simmer until the potatoes are fork tender. This took less than 10 minutes on medium low. It depends on how large your potatoes were cut so cooking times will vary.
I also add in shredded Rotisserie chicken. As much or as little as you want. I should mention you can not add any meat to keep it vegetarian. You can use veggie stock or water instead of chicken stock.
Most Japanese restaurants only use potatoes, onion and carrots. I like to also throw in frozen veggie medley. It's how my mom used to do it so that's how I like it. Also, it's a good way to get the Indian to eat more veggies. Add as much or as little as you want.
At this point, I'm a little low on liquid so I added a cup of water. That's okay. It all works. Try not to add too much water unless you need to. If you make it to watery, then you curry won't be thick. Of course, if that happens, you can always add a little cornstarch at the very end. No bigs.
Now it's time to add your curry block! If you got the large sized block, you'll open it to find 2 curry blocks.
They are foil sealed. You peel them open like this:
Tada! Insta curry smell!
If you flip it over, it looks like this. Guess what? If you're making a smaller batch, you an cut up the block and just store the left over blocks in a zip lock bag. We're using the entire half block for this recipe.
Drop your curry block into your pot.
Make sure the heat is on low/simmer and start melting the block in your soup.
Like this:
It starts to look like this. Make sure you melt the block and there are no lingering clumps. Because if you don't, whomever bites into that clump will be reallllllllllly bummed out.
Simmer just a bit longer.
Done!
Serve over rice. My mom used to serve on a dinner plate. She'd make a rice "bowl" and scoop the curry in the middle. The Indian eats his curry out of a large serving bowl. It literally is called "the curry bowl" in my house. Shrug. This recipe feeds 4-6 people. Or one Indian.
You can also serve over tofu if you want to cut the carbs.
I LOVE to eat this curry with kimchi or even dill pickles. There's something about the salty, sweet curry balanced with vinegary pickles or kimchi.
I should also mention that my dad likes curry now.
Try making a beef curry if you can. Beef curry rocks!