Tuesday, April 7, 2015

Easy Chicken and Rice Soup (Using Costco Rotisserie Chicken)

This is actually a part 2 posting that involves Costco's rotisserie chicken.  In the first part, I used the bones and carcass to make stock that I used for this recipe.  You don't have to make the stock yourself.  You can just used canned.  Trader Joe's has pretty good chicken stock.  But if you wanna give it a shot, you can check out the step by step how to here.  The broth you make from boiling the bones from the Costco rotisserie chicken is really full of flavor and buttery tasting.

The rotisserie chicken they sell at Costco is amaze balls.  It's steroid and hormone free and such a steal for what they charge.  I can get multiple meals out of one chicken.  On of my all time faves is chicken and veggie soup.  You could, of course, just boil fresh chicken, but it doesn't taste as good. There's something about rotisserie chicken and all it's roasted glory....
So here's my very simple recipe for chicken and veggie soup.


You'll need:
Shredded chicken (as much or as little as you want)
chicken stock (can be canned if you want)
onion
bell peppers (any color)
celery
carrots
chicken stock
garlic
dried herbs (I use herbs d' Provence.  You can use thyme and a bay leaf.  whatever)
water
salt
pepper

I start by chopping my celery, onions and bell peppers.

I used about 2 cups of carrots, 7 stalks of celery, an entire onion and half of a yellow pepper and half of a red pepper. Cut your veggies into same sized pieces for even cooking times.


In a large stock pot, I added my veggies and sauteed over medium heat with about a tablespoon of olive oil


To the pot, I added  1/2 tablespoon of kosher salt, a lot of black pepper and about a tablespoon of herbs.
I'm kind of new to the herb game.  My ma never used any, obviously, in Korean cuisine.  Someone (Hi Tere!!) got me this little pot of Provence herbs for Christmas and it's been a use on everything solution.


and about 1/2 tablespoon of chopped garlic.


When your veggies are soft, add 3 cups of stock.  I used homemade stock.  You can use canned.  If you use canned, hold off on adding salt until you taste the canned stock.


Add 3 cups of water to the pot.  I add water because the stock I made is very concentrated.  You can gauge how much water you will need by tasting.  You will want to make sure your veggies are covered with water so use more stock if you need to.  

Now I add my shredded chicken.  This is the meat from one entire Costco rotisserie chicken.  
You can add as much chicken as you want.  I used about half this container.  It's up to you.


Cover your pot and let simmer for about 30-40 minutes on medium low.  Come back to this:


I serve with cooked brown rice.  You can add cooked noodles if you'd like.  I use this kind of rice:


I love this brand because it's brown rice, but not as tough to chew as other brown rice.  It's ALMOST like white rice. Don't add raw rice or noodles.  There won't be enough soup to cook the rice or noodles and you'll end up with a gooey mess...unless that's what you want.


I also like to squeeze a little lemon in my soup because I'm pimp like that.

Serves 4-6.  Although, the Indian ate almost the entire pot in one sitting.... 


Monday, April 6, 2015

Costco Rotisserie Chicken Stock

This started out as a chicken soup post.  But I thought I should do a separate post on how I use Costco rotisserie chicken to make my own stock.  Has anybody NOT tried the rotisserie chicken at Costco?  It is probably the best chicken I've ever had plus its super cheap.


I have a confession to make.  I think I buy it just so I can boil down the carcass to make chicken stock...actually, come to think of it, I think I also make bone in prime rib roast so I can boil down the bones to make stock.  Hmmm.  Not sure why I am so obsessed with making my own stock.  It is so easy to do and the results are divine.  So why not?  I use the stock that I make for a lot of my food and I really think it makes a huge flavor difference.   I get a lot of credit from my friends who have tasted my Korean jjuk (죽/porridge/congee), but it's good only because I use the stock from this recipe.   


I also love Costco chicken because it's hormone free and steroid free.  See?


Back to the chicken...I think I buy it to make meals out of it.  We rarely eat it as a meal.  But when we do, I usually serve it with tortillas and beans.  Sort of like a home version of El Pollo Loco.  Then the real magic happens.

For someone who hates dealing with raw chicken, it amazes me that I actually don't mind getting my hands into the cooked chicken.  I still wash everything like crazy because I'm scared of salmonella, but that threat doesn't seem as severe with cooked chicken...I know.  I know.  I have problems.

I usually refrigerate the chicken overnight or for a few days until I can get to it.  I wash my hands, take off all my jewelry, and just tear into it.  I am really surprised at how much meat I can get off the entire chicken.  Did you know there's a part on poultry that's called the oyster?  I first heard Bobby Flay mention that so I looked it up.  There is always these highly sought after parts on food.  Sorry.  I totally digress.

You can read more about it here if you're interested.  

I put the chicken meat in one container and the bones and skin and everything else in a huge stock pot filled with water.

I couldn't take a pic of the process because 1) its messy and I use both hands to do it and 2) I have to fight off the little carnivore I live with.  Once she catches on that I'm wrestling with Costco chicken, it's game over.

 She LOVES Costco chicken too.


Here is all the meat.  Good for chicken salad, chicken curry, chicken enchiladas, chicken nachos, chicken soup, chicken a la king, chicken....well, er, yes.  You get the idea.  We almost had a Forrest Gump moment there.


And here are most of the bones and everything else.


I throw it all in a pot to boil on medium.  Even the weird chicken jello on the bottom of the container.  Yes, that too.  Its all flavor.  Cover with a lid and go do something else for at least an hour.


Your house will smell wonderful.  After an hour or more, I turn off the heat.  I have one of these strainer thingamabobs.  I love it.  I skim out all the skin and bones.


The strainer gets all the teeny, tiny pieces too!


I transfer all of it back into the container that the chicken came in.


Package it all up and throw it away!!! Outside.


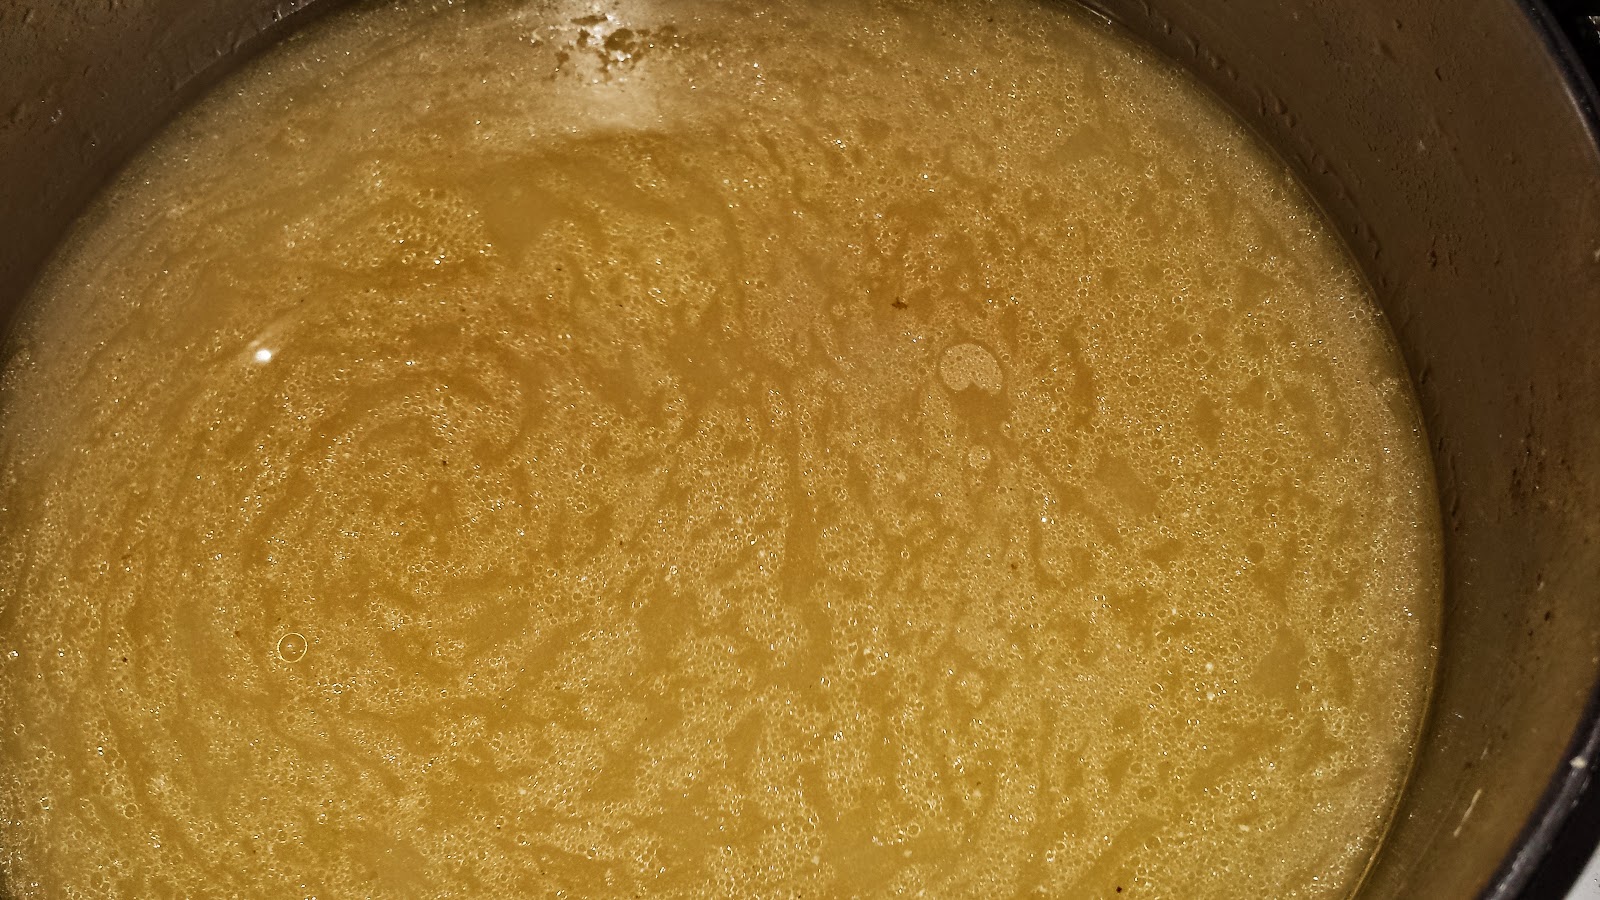
And you're left with this rich, buttery, and delicious broth.


What about all the glossy fat on top?  Refrigerate over night and the fat will harden on top of your broth.  Just use a spoon to scrape it away.  Don't be alarmed if your stock is gelatinous when cooled.  That's just because of the collagen from the bones and stuff.  Chicken jello.  Good stuff, Maynard.

Divide into containers and freeze for later use.  Genius.


You can apply this same principal to turkey, rib roasts, etc.  Or even chunks of brisket meat.  It's really not that hard to make your own stock.  I've even used shellfish to make a seafood stock and it makes a HUGE difference in my jambalaya.  Give it a try.


Tuesday, March 31, 2015

When Life Gives You Lemons....

Actually, this post should more accurately been titled, "When Your Dad Forces You To Take Home All the Lemons..." (Right, Lora?)


Sometimes, my Pop gets it in his head that something has to be done and you have to do it right away.  A few weeks ago, he got it in his head that the lemon tree in his yard was overburdened with lemons.  So he insisted we pick them all and take them home.  Seriously.  He did.  My parents live in Ventura County and if you didn't know this, Ventura is known for it's citrus.  Bam!  Look at these suckers!  They are so ridiculously juicy.  I don't think they are Meyer lemons, but they could be because they are sweet while still sour.  Or they could just be amazing Ventura lemons.  If you work with me, then you've received some of these suckers.  One lemon goes a looooong way.

I happened to make these suckers today:


It's such a nice day today and I thought lemonade would go really nicely with my bacon and leek quiche (you can find the recipe here).  The Indian LOVES lemonade too and since I had about 10 pounds of lemons from my pop's yard, here we go!

All you need is love....well, and bacon.
Just kidding.  But not really.

All you really need for this is:
1 cup of sugar 
as many lemons as you need to get 1 cup of lemon juice
water

THAT'S IT!!!

So I like to use this kind of sugar:

I like it because it's unrefined.  Just like me!  HAHAHA.


But you can use any kind of sugar you want.

You could just dissolve 1 cup of sugar in 1 cup of water....But that takes FOREVER.  So just make a quick simple sugar syrup by heating 1 cup of water on your stove until it's boiling and then mixing in 1 cup of sugar.


Stir it around, remove from heat.  Boom!  Simple sugar syrup.


Mine is this brownish color because I used unrefined sugar.  If you used refined, white sugar then your simple syrup will be clear.  Did ya notice that with one cup of water and one cup of sugar, you end up with MORE than one cup of simple syrup?  Yeah.  Science.  Pretty cool stuff.

I use this jug that I got from AmazonSmile.  I support University Camps (UCLA UniCamp.  Learn more about them here)...Shop AND make a difference?  Pshhh.  No brainer.  


Here's the side view of the mug.  I love this one because it's square.  I use it for iced coffee too.  
The jug is made by Bormioli Rocco and it's the 2 liter size. 


I poured my simple syrup into the jar and let cool.

So now I take these bad boys...


Cut in half.  Pretty, yes?   I don't need to roll these against the counter.  They are super juicy and easy to juice. You should roll your lemons, pressing down hard with the palm of your hand if they are kind of hard.  It makes it easier to juice.


The Indian bought me this and I never used it before.  Here goes!


Wow. That was easy.


Can you believe only TWO lemons gave me over a cup of juice?  Yeah.  I know.  Super Lemons.


I poured the fresh squeezed lemon juice into the pitcher with my cooled simple syrup.  I guess I should admit that "cooled" is kind of exaggerating.  I never have the patience to wait.  It was more lukewarm/warm side than cooled. Whatever.  It's fine.


Then I added 4 cups of water to the pitcher.


I put the top on.  It's airtight.  I love it.


I chilled in fridge.  

When I was ready to eat my quiche, I poured over ice and garnished with an Oxnard strawberry.  
Ever have one of those?  They are divine.  They taste like they've been rolled in sugar. 


You can add as much or little water as you want.  Taste as you go along.  I know my lemons are sweet and super tasty so I can add a lot of water and it won't taste watered down.  Taste yours as you add water so you don't end up with watery lemonade.  And yes...this is sugar, but more importantly this is vitamin C.  So there.

I'm gonna go pig out now.  Bye!

This is realllllllllllly good with a (BIG) splash of vodka too.  Just saying....


Thursday, March 26, 2015

Can Cauliflower Pizza Crust Be Done?


As I was typing the title of this post, I shot back a few decades and for a hot second (no pun intended, since it was 92 degrees on this fine March day) I was back in Brother Hinger's middle school science class writing up my lab experiment for homework.

And sidetrack, this just happened as I laid down to type this out:


HAHAHAHAH.  Apparently I make for a good place to rest.

Back to this science food lab experiment...There's been a lot of posts online about using cauliflower to make pizza crust. I'm interested in the lower carb aspect, but I also LOVE cauliflower-interest peaked.  Big time. The Indian also LOVES pizza.  Me?  Not so much.  Every once in awhile, but not all the time like he does. So maybe he'd eat this....So while this ISN'T my recipe,  I thought it might be worthwhile to try and make it and blog about how it went and how it turned out.  Can it be done?  Will it taste good?  Will it be soggy?  Dun, dun, dun! 

So my hypothesis is this:

I think this has the potential to be amazing, but given that there are so many unknown factors, this could be a big mess that I will end up having to use a spoon to eat.

That's not a real hypothesis you say?  Well, I'm not a real scientist.  Ha.

I looked up several different recipes and decided to go with a little bit of everybody's recipes and used this combo.

The crust:
1 head of cauliflower.  A Big one.  Go Big or go home...
2 eggs
1 cup of mozzarella cheese (low moisture, part skim)
1/2 cup Parmesan cheese (just plain old Kraft)
black pepper
garlic powder/Italian seasoning of your choice

Also, you'll need a pizza stone OR large baking pan plus oil OR parchment paper

All the recipes start with raw cauliflower either being grated or put into a food processor.  I chopped my large, washed cauliflower into large pieces and I started out using this grater, 


And it was a hot mess.  The cauliflower was crumbling everywhere and I was getting more on the floor and all over the counter than through the grater.  Plus, I'd get down to the end of the cauliflower and start shredding my fingers.  Some recipes called for not using the stalk, but I like that part too.  I was ready to give up.

I don't have a food processor so I just decided to use my blender.


This was SOOOOO much better.  I mean the cauliflower "rice" was getting everywhere and I had to stop and dump out the chopped up cauliflower when the blades got stopped up, but I think it worked out fine. Again, there was still cauliflower rice everywhere, but it was manageable.  I was so obsessed with not getting cauliflower everywhere, I didn't take any pics.  But just pulse a few big pieces at a time in your blender, dump out, start over until you've pulsed/chopped all your cauliflower.

I dumped it all into a large bowl and microwaved for 10 minutes.  


While that was cooking in the microwave, I wiped down the counters, swept the floor and washed the cauliflower confetti off the blender.

After the cauliflower "rice" was done cooking, I grabbed this dish towel.  I chose this one specifically because it's woven but has no "shag".


Like this one is shaggy and I imagined the cauliflower would stick to it. So I did NOT use this one.


I used a muffin pan and laid the kitchen towel on top of it.


Then I poured out my hot, cooked cauliflower "rice" on top. 
 I thought it would cool faster if it was not directly on the counter.


It looked like a barbie king bed.


While that was cooling.  I took my pizza stone and heated in the oven at 450 degrees,


Don't mind the circular marks on it....It started it's life at my house as the base for my birthday beer cake...


After the cauliflower was cooled enough, I carefully pulled up the sides like this:


The bottom of the towel was damp, so I'm guessing the towel was already starting to soak up excess water from the cauliflower as it was cooling....or maybe it was steam...I dunno.  That sounds like some spooky science stuff.

I called over the Indian because he has bigger and stronger hands than me.


He was able to wring out over 2/3 cup of liquid.


Nice.

I dumped the cauliflower back into the bowl and it fell nicely out of the towel with very little sticking to the towel. Ta-Dah!  It's like magic.


It looked like this:


I fluffed it back up with a fork and also took the opportunity to mash up any larger pieces I found.  It was super easy since the cauliflower was all soft.


Then I added 2 eggs, 1 cup of mozzarella cheese, 1/2 cup of parmesan cheese, black pepper and Italian seasoning....I have to confess...I used one packet of Italian seasoning that came with some Papa John's pizza that the Indian had ordered a week ago.  Oh well.  It works.


I mixed it up using my hands.  I divided the cauliflower mixture into two even portions.  I worried a little bit here because with the egg being added in, it felt wet again.  But there was no turning back now.

I cut a piece of parchment paper and laid one portion of the cauliflower mix directly on to it.


I flattened out as evenly as I could while using my fingers to smooth the edges. 


I picked it up by the corners of the parchment paper and quickly placed it on the pizza stone.


I baked for 20 minutes and it came out looking like this!


Pleasantly surprised!

I added some spicy pizza sauce (tomato paste, a little cauliflower water to thin, crushed red pepper)


A little more cheese, grape tomatoes and bacon.  I didn't put a lot of cheese on it because I generally don't like too much cheese and there's cheese in the crust.

I baked for about 5 more minutes while the cheese melted.  Then I took out and sprinkled with arugula.


It cuts like pizza...


You can hold it and eat it like pizza...


So here's the verdict....Totally do-able and tastes like pizza on regular dough, albeit kind of a chewy dough.

Confession: I was disappointed at first because I thought it would taste like cauliflower....And I don't really think you taste cauliflower...But I guess that's the point.  And guess what?  The Indian wouldn't even try it.  I forced him to take a tiny bite and he claims it tastes like cauliflower.  Whatever.  

I baked off the other portion to make another crust.

Lora-Guess what we're having for lunch tomorrow...


**Update:  

The cauliflower crust held up really well overnight.  I had feared that I would wake up to goo, but it kept it's integrity and can still be cut and picked up for eating.  For the second crust, I opted NOT to sauce.  I LOVED it.  I just did easy cheese, pineapple, arugula and bacon.  This worked so much better for me since I'm a big fan of cauliflower in general.  The whole point was to make a lower carb option for the Indian and with the sauce, it really does taste like doughy crust pizza. 
 But without the sauce, the flavor of cauliflower and cheese was more prominent so in my opinion the sauce-less option was a winner for me.